Showing posts with label Crafts. Show all posts

Tuesday, August 21

It's Here! It's Here! It's Here!

So sorry for the delay in blogging my faithful followers, but all of my creative powers have been directed at my new 'toy'! The Sizzix Eclips!! 


My new toy came in at just the right time because it is back to school time, and the country club for which I work was having a Back to School Splash and we got to make goody bags! We were trying to be smart with money so I didn't fill them too much but still wanted them to be special to the kids. I decided to make 'tags' (as I called them, but they were actually quite large, about 5" by 8") to put inside the clear zipper bags and I tried to personalize them for the kids that would  be there then just make the other ones clever and cute. See some examples below :)


I even got to play around with some bigger projects, like cutting out my husband's youth group logo! The logo is so intricate but the Eclips had no problem! The logo turned out so cool!


Now forgive me, but for the life of me I cannot make this rotate. I am looking at this photo in my editing software and it is rotated perfectly. Blogger-sometimes I hate you. 

Anyway! I am just loving my new toy and trying to find as many reasons to use it, so if you have any ideas let me know! I am more than willing to send you school teachers anything you need or Moms if you need some personalized invitations or ANYTHING, let me know! I am more than willing to help a sister (or a brother) out!

I hope that back to school has been easy and painless for you and your's. Much love from the McGraw's!

Monday, August 13

BOWS!

So, I love bows on babies. Unfortunately, Macy likes to play with bows more than wear them on her head. I have found a solution for the time being- smaller bows. The smaller they are, the quicker she forgets about them. So my quest to find small bows led me of course to Pinterest where I was able to find a super cute goldfish bow, and was able to follow the tutorial here!

{via}
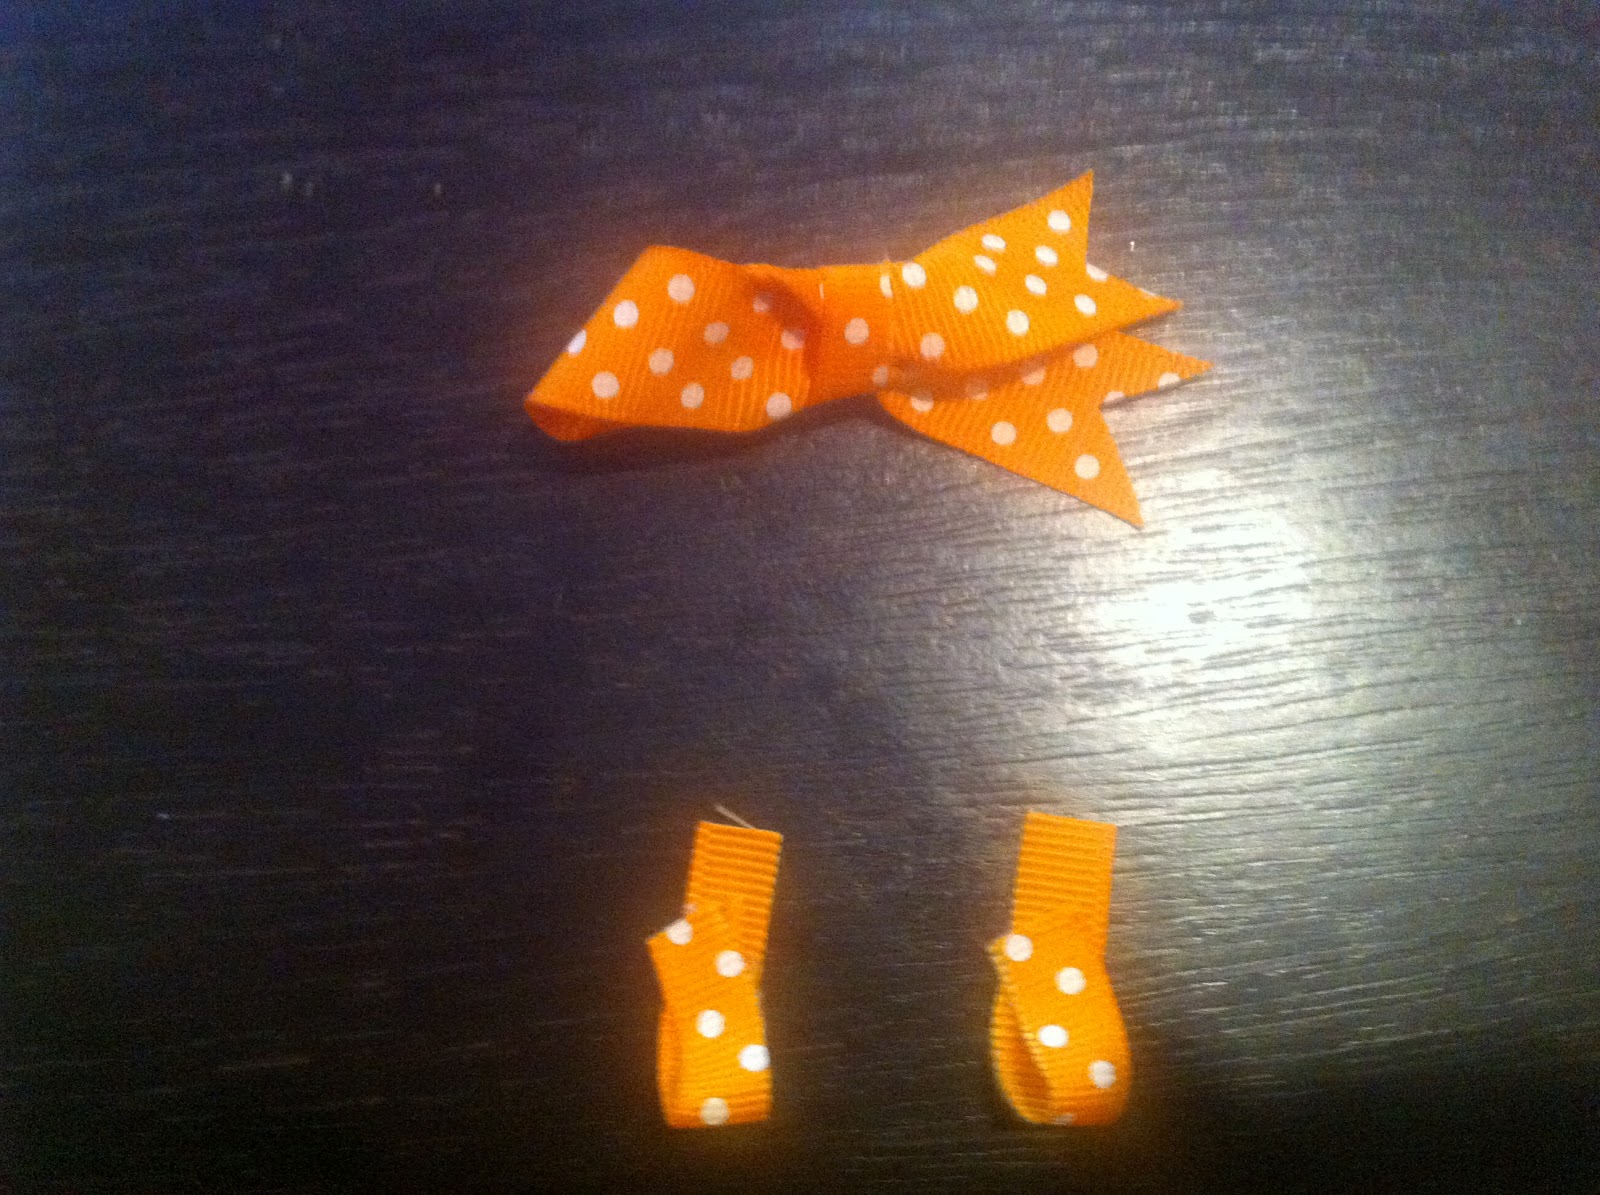
Here's how I did it. Start out with one long strip (tutorial above suggests 7", but that was way too long for what I wanted), and then you will need three 1" strips. Sorry for the poor iPhone photography!


Then you fold the ribbon in half length-wise, and then pull the top part off to the side.


You want this part to be a little puffy because you don't want your gold fish to have a flat head! So you just have to play with it until it looks good to you.


Then pinch at the spot that gives you enough fluff, I put a dot of hot glue on mine to make sure it held the way I wanted it. You can see when you compare the picture above and the picture below how much length I ended up taking off, it was unfortunate. 


Then you take one of the small strips and wrap the spot where you were pinching. I also took this opportunity to make sure the 'tails' were even. 


Next you want to make his arms. Take the other two smaller strips, put a dot of hot glue on one end, then fold over like below.


You are so close to the end! Next you will position the arms in the way that looks best to you. I chose to have them pointing down, like the little guy was swimming!


Lastly, you add an adhesive wiggly eye and the little guy comes to life! Again, the iPhone is not the best camera for these pictures. Sorry!


This was just one of the bows I was making for Macy this past Saturday. One item I would suggest is using something different than the 'snap' clips. I got them because they stay really well in Macy's hair, but I wasn't thinking of how I would attach the flat bows to a curved surface. I just had to add a bit more hot glue than I would've wanted to. But that's okay, we only need them for a little while long until Macy gets a little more hair. After I was done, I put them all in here hair. She didn't even try to pull them out, SUCCESS!


However, she was ready for me to stop taking pictures.


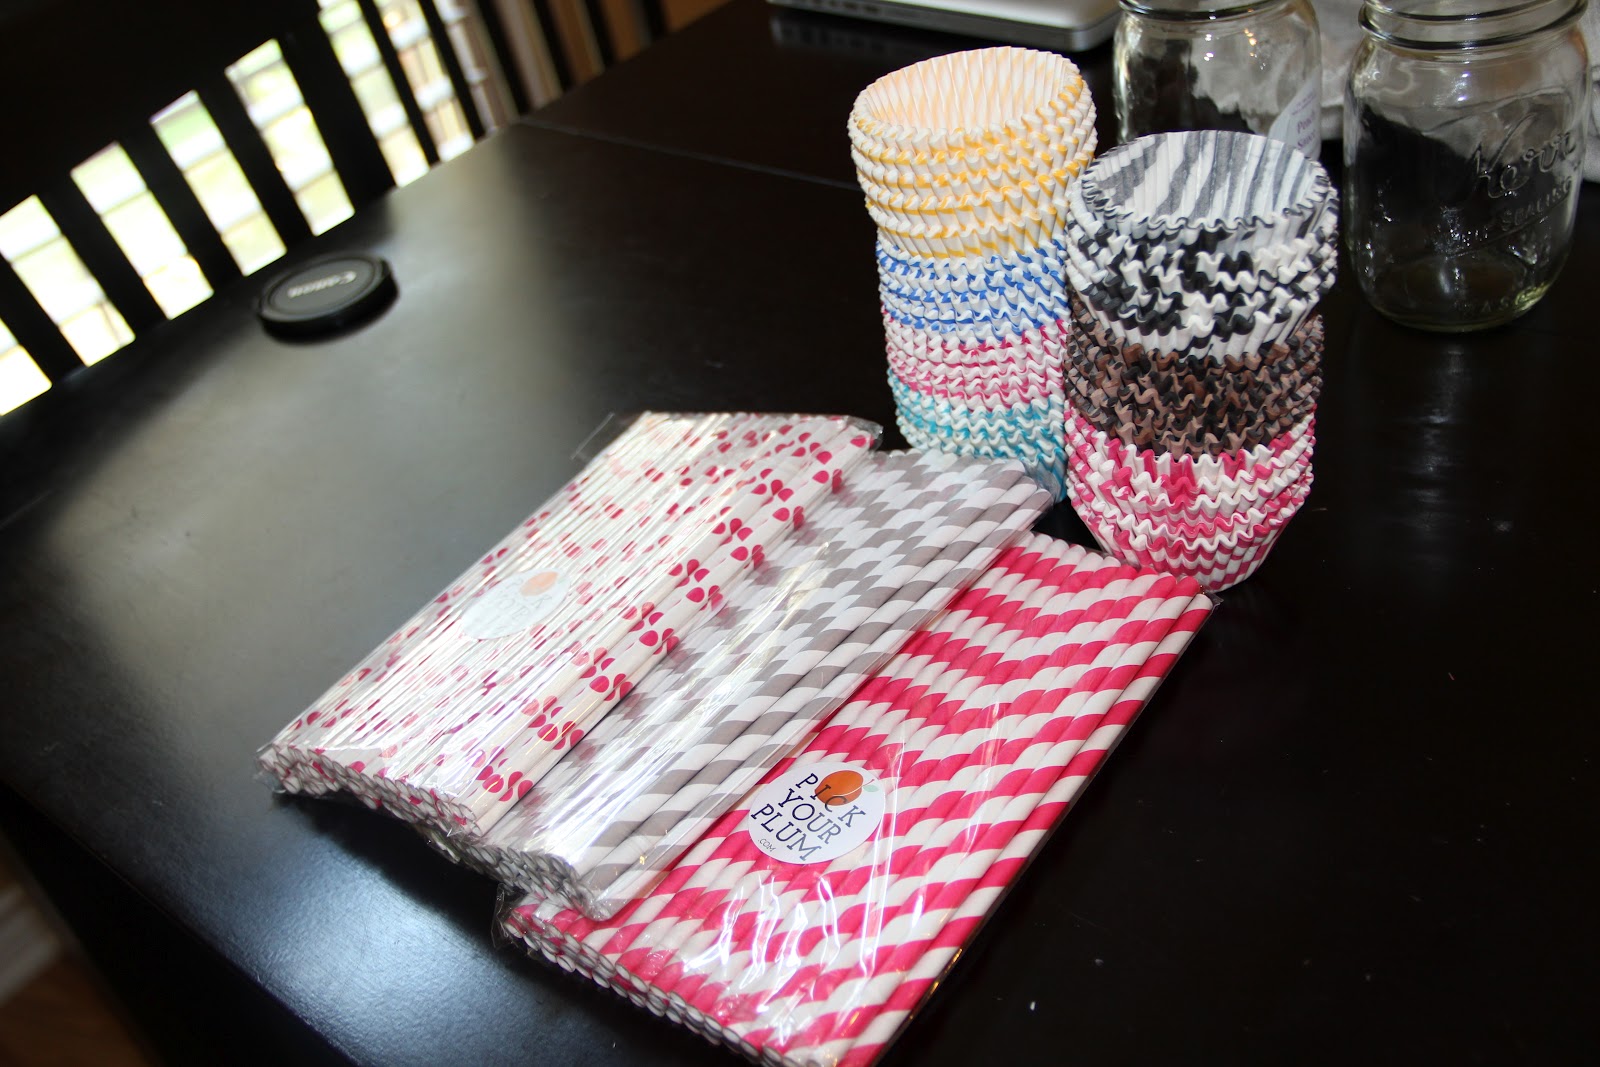
I got the cute ribbon from Pick Your Plum, which runs specials on different craft supplies every week day. When I got done with the bows, I went out to my mailbox to find that the super fun cupcake liners and paper straws had both come in! Woohoo!


In other news, this happened today. Macy was snacking on some puffs, then took the bottle off into the kitchen, dumped puffs on the floor, and continued eating them in between play breaks. Yeah, I let this happen...


Friday, August 10

Could I Be So Lucky?!

So, as you know, I have been wanting barn doors for my bedroom to separate it from our no-doors bathroom. Well, there are also a few other things, that I haven't told you about, that I have been coveting lately that all have to do with wood. 

First, let's revisits barn doors in all their glory.

{via}
Problem: barn doors = EXPENSIVE! They like them quite a bit too... 

Second, let's talk about my raging need for a new headboard. 


Obviously, this is back when we put in the new carpet. I do have side tables, they were just moved out in our living room during the install. But I still think this photo shows you the problems with our headboard. It's too short. We have extra high ceilings which I would never change, but some of my older decor that I've had since we got married and bought for when we moved into our first house in Lubbock is starting to just not work. I loved this headboard when I bought it. I stalked it at Pier One for a good long while and was finally able to afford it when it went on sale, as well as coupled with a coupon. Anyway, like I said, it's just not working anymore, but on top of that I don't have hundreds of dollars to spend on a new headboard while we are trying to save for our renovation projects. So, I started pinning ideas for new headboards off of DIY sites and was trying to think of ways to be super thrifty and crafty, but I fell in love with this project idea from Lowe's.

{via}

Can you imagine? I'm also planning to create a companion footboard in the same style. Brilliant, and Lowe's has created a shopping list and step-by-step instructions which is even better. Still a problem though, because all the supplies are expensive.

Something else that I have been wildly coveting but have no chance of getting are these beauties. 

{via}

When I finally tracked these bad boys down, with no help from the original pinner who apparently pinned the image off of Google (I'm touching on one of my soap boxes, but I'm leaving it there), they were $700 for one. Obviously, you would need at least two, but I wouldn't turn my nose up to three. There is no way I could ever do that. Ever. No matter what.

Well, at this point you are probably asking yourself, "Why is she writing this post about everything she can't have?!" Good question, my friends. The truth is, I may have found a way to make all of my 'wood 
dreams' come true. We ran into our buddy who, ironically, is also our financial advisor, at church the other night and in passing he said, "Do you know of anyone who needs any extra wood? We had to cut down a massive tree in our yard, and we have tons of logs, panels, and stumps that we have no idea what to do with." I think I may have peed myself a little at that moment. That's how excited I was. Now, I have no idea if what he has will work, but I am crossing every finger, toe and limb hoping that this will be the solution to all things wood-y that I want in my house.

Could I really be that lucky? We shall find out... 

Thursday, August 9

Back to School Teacher's Luncheon and Gifts

So before I started working at the Country Club, I was a teacher at a small, private school here in town. It was basically a startup school, and as with any private school (I feel like) you wear a lot of hats. I love the people that I worked with there, but in the end it came down to the fact that our summers are crazy and my family needed down time all together. I felt like Cliff and I were always in a state of 'ramping-up.' For example, as soon as summer was over we were ramping up for the school year and as the school year was winding down we had to ramp up for summer traveling with the youth group. It's exhausting, all around, and now with Macy in the picture it was time to make some changes. Even though I'm not teaching anymore, I wanted to let those teachers know that I still care deeply for them and appreciate everything they do all year long. So, I offered to host the teachers and staff for lunch one day during their training week at the Country Club. I am so glad that I was able to host them, and still be able to feel connected to such a good cause, with such wonderful people.

Here are some pictures from the luncheon... 


I reused (for the second time, here's the first) some of the decor pieces from Macy's Birthday After-After-Party. 


Then I pulled books from my personal library that have either been or are currently on the literature list at the school. Also, I pulled different quotes off the internet about teaching from respected educational and historical figures, and printed them on card stock. I cut them and then used glue spots to adhere them to 'Thank You' tents, AKA colored card stock with my thank you stamp and gold ink. I was pretty happy with the results, especially since I found out I was hosting the 15-person party less than 24 hours before.


I love a pretty beverage dispenser. Little touches, like utilizing a dispenser rather than a pitcher when you can, make parties for me.


For lunch, the group had the ACC Signature Salad, which consists of baby spinach, Craisins, walnuts, Granny Smith apples and a raspberry vinaigrette, as well as the Par 5 Sandwich, turkey BLT with avocado. Everything looked wonderful and was quite tasty!


Dessert is a must in my book, which is why it's so hard for me to be a diet, HAHA! I need something sweet to conclude the whole experience. For the luncheon we had a beautiful fruit tray with sweet cream cheese fruit dip, and chocolate chip cookies. I had a really hard time abstaining from just spreading the fruit dip on the chocolate chip cookie. That dip was to die for!


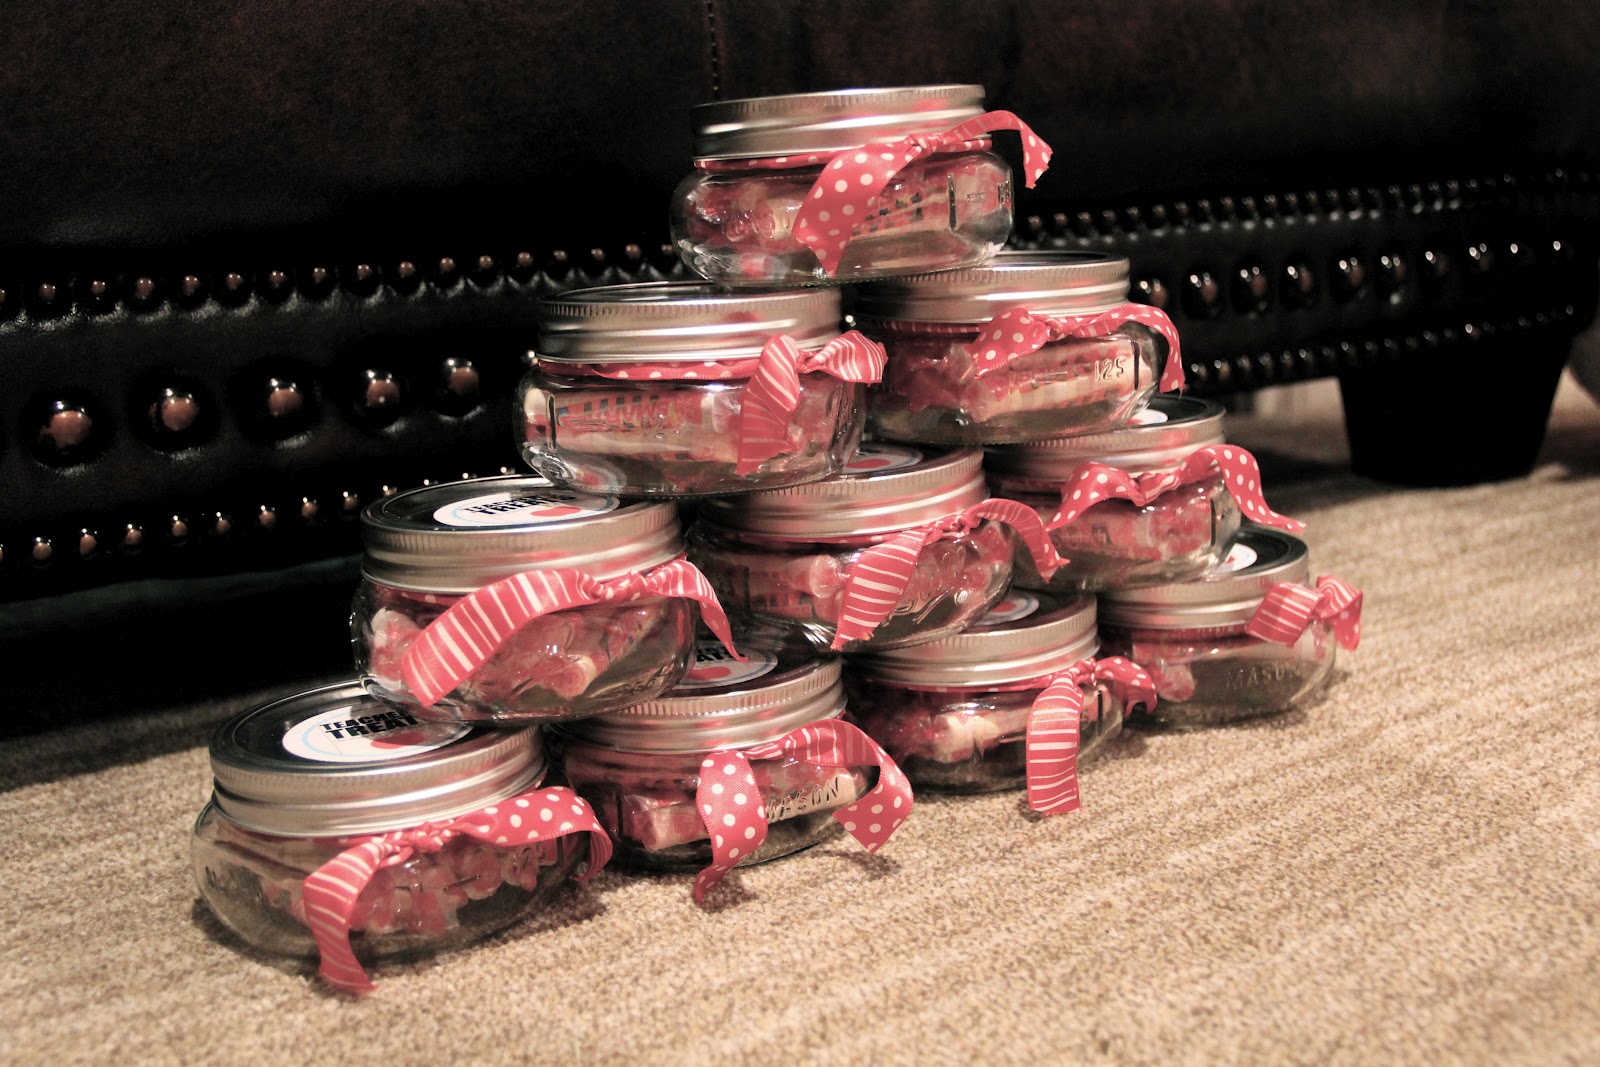
Again, I felt so blessed to be able to host this group. I know they work hard all year long so I couldn't stop there. I knew I wanted to make them something gifty, but was having a hard time deciding on what I wanted to do. Luckily, I stumbled upon The Crafting Chicks blog post Back to School Brainstorm. They offer several different ideas for back to school gifts, as well as any printables you would need to go with them. I decided on this sweet gift, but I added my own spin on it.

The Inspiration
{via}

What I Used


Ball Half Pint, wide mouth, Mason jars: 4/$8.99 
I had a coupon for 40% off of 2 packages of them and 25% off the whole purchase!
Avery 2'' labels: 60/$7.97
 I only used 12, so I will have some more for other projects!
Individually wrapped Smarties: $2.16/bag 
I ended up needing about two and a half bags to fill 12 jars


So I ended up using Mason jars: a. because I love them, and b. because I had a coupon to Joann's Fabric Store and they didn't have the treat jars, but I'm more than ok with it. Then I filled them with Smarties (*FYI: If I did it all over again, I may have chosen something with a little less of a defined shape, but I loved the play on words*) and then at the last minute I added some ribbon. Luckily, I cleaned out and organized all of our gift wrapping today, and remember that we had some leftover ribbon from Macy's birthday party that would match perfectly. On top of that, it was precut perfectly to tie nicely around the wide-mouthed jars. I just love when a plan comes together! 

My Finished Project


Overall, I'm pretty happy with the gifts. I wish I had been able to wait a little bit longer before needing to take them up to the school because I just ordered the BEST THING EVER!! I have been researching cutting machines for what seems like months now, and had narrowed it down to the Cricut or Sizzix Eclips. A dear friend, and avid crafter, who has both machines, adamantly recommended the Sizzix over the Cricut, and then proceeded to tell me all the website I should be stalking for the best sale. So Cliff was out of town when I came across the best sale I'd seen on the Eclips. I found it on Oh My Craft, and it is the Eclips Start Up Kit with the option of the eCal software (which I also got at the recommendation of my friend). Just a note, if you find/found the Eclips at a better price, do not tell me. I was pretty happy with myself. Don't burst my bubble...
It was basically 50% off, then also offered free shipping and then 25% off the whole order. Needless to say, I jumped all over that sale, but it's still being shipped. Otherwise, these teacher gifts would have been even more crazy awesome!!! 

Anyway, I hope you enjoyed this post and that you have taken time to thank the teachers in your life for all their hard work and dedication to your kids and community. 
Happy School Year!